I need a module to accept Stripe payment on the Joomla website I am working on, it also needs a membership subscription and to be able to be added as MailChimp subscriber. My option was to buy a module called Membership Pro by OsSolutions but I thought of giving a try.
What you need for this to work on your current Joomla are the following:
- Stripe account (free subscription)
- SSL certificate installed on your website as Stripe requires it (you can get for free depending on your hosting server if it supports it via Let's Encrypt)
- MailChimp account (free subscription)
- Zapier account (free subscription)
- DirectPHP plugin for Joomla (free)
Stripe
- Sign-up for Stripe account.
- Add your bank account.
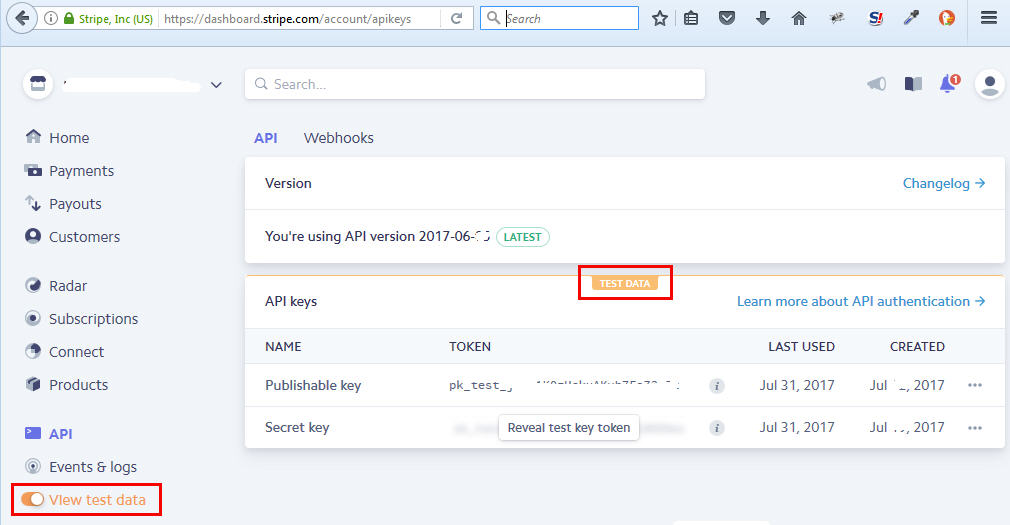
- Get your Test API key by logging into your dashboard. Toggle on View test data then click on API menu. Change your API key to the live one once you're ready to go live.
SSL Certificate
I bought a GeoTrust SSL certificate via https://cheapsslsecurity.com.au/geotrust/quicksslpremium.html - I created a CSR and did an email authentication. I then paste the certificate key, it then showed a different IP. I then had to change the A record of www to the new IP. Why is that? Some servers don't have port 443 open on one server so if you need SSL enabled on your website, then you will have to assign a different IP where they have opened port 443. Now the website I'm working on can be viewed by going to https://
MailChimp
- Login to your MailChimp account or create one if you haven't got one.
- Go to List menu then Create a list. I will name mine Stripe via Website.
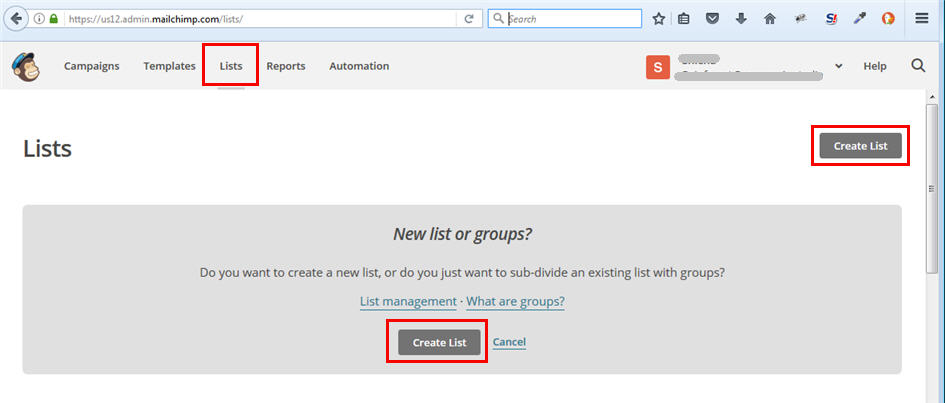
- On your created list, click on the drop-down arrow then select Signup Forms.

- Click on Embedded Forms. While on Classic tab, click on the form builder link.
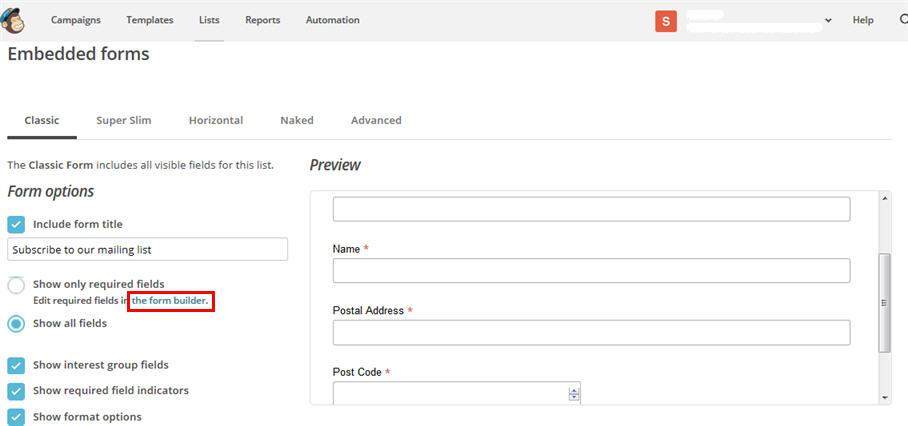
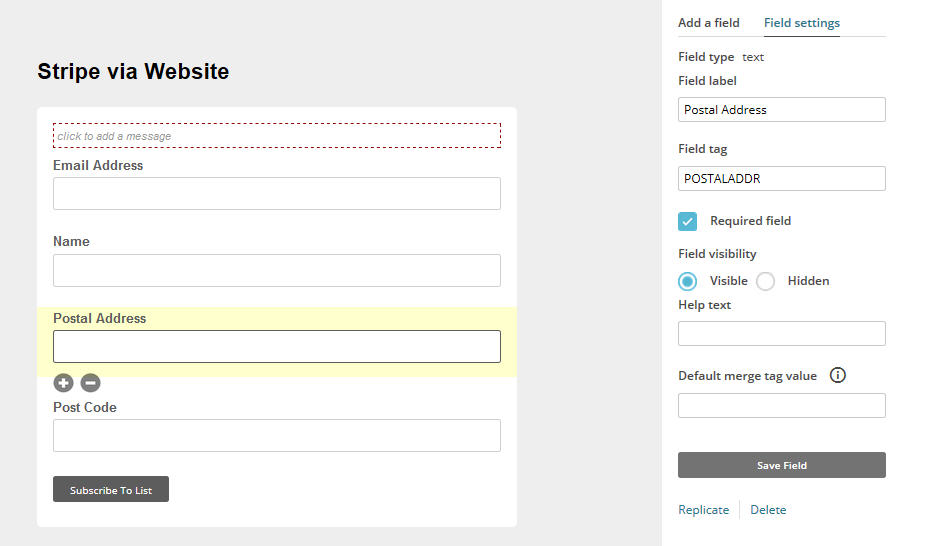
- Now edit the form, add new text field for Name, Postal Address and Post Code which we need for this example. Enable the Required field if you need to. You can also change the Field tag to something easy to identify later on instead of using the default.
Zapier
Zapier will add the subscriber automatically to MailChimp once it receives payment via Stripe.
- Create a free account with Zapier.
- Then click on Make a Zap button.

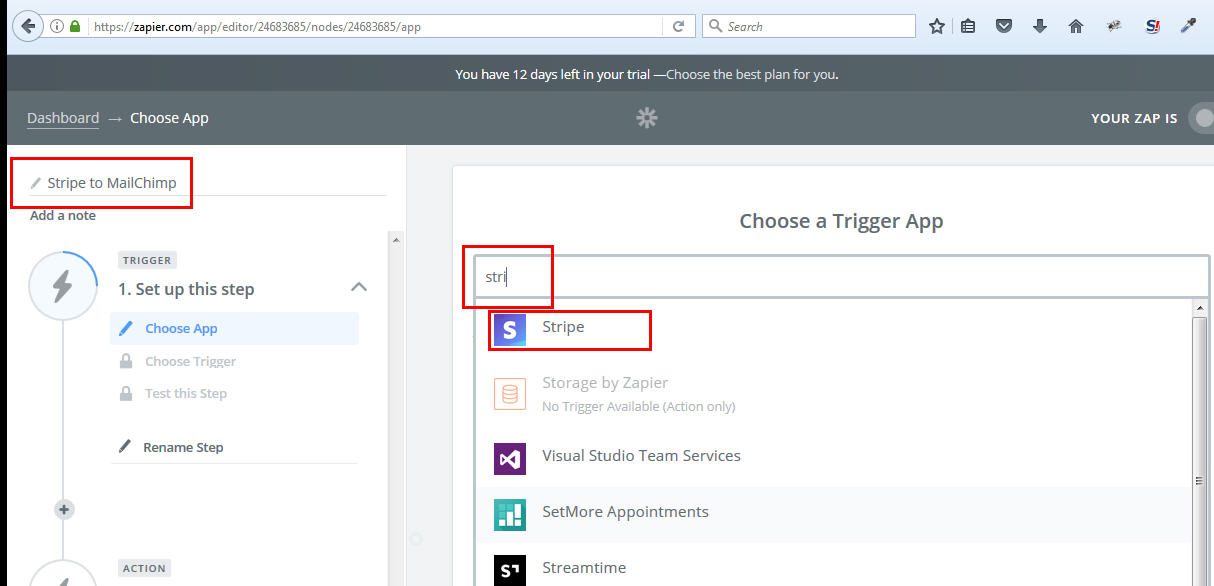
- Name your app to Stripe to MailChimp, then search for Stripe then select it from the dropdown.
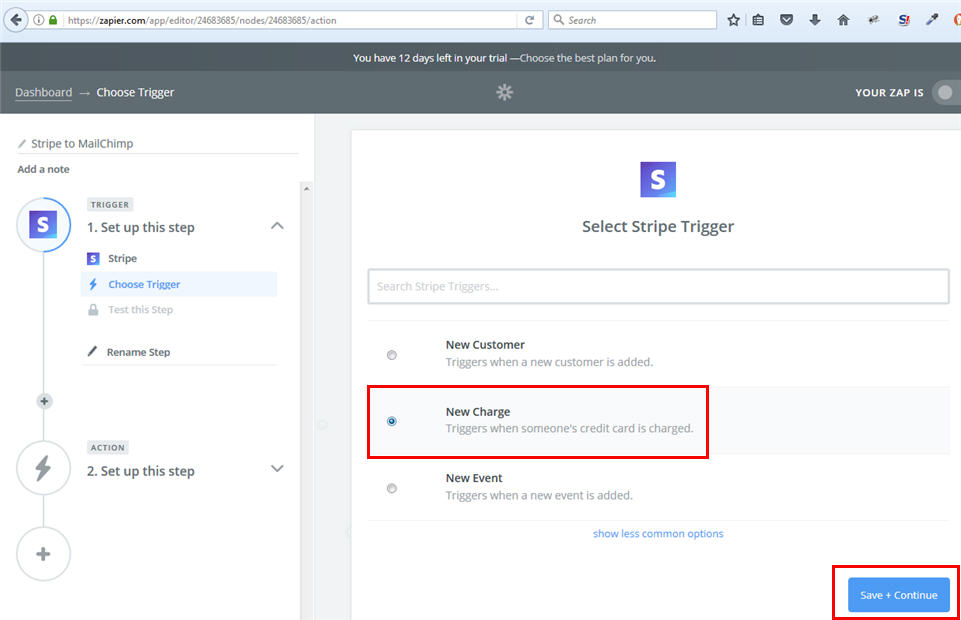
- For the trigger, select New Charge then click on Save + Continue
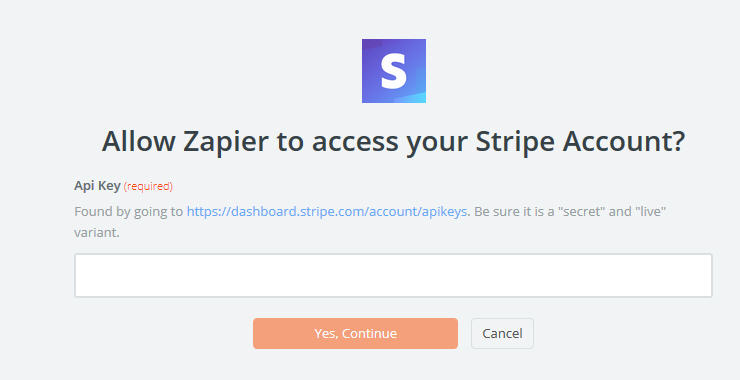
- Click the Connect an Account button then login to your Stripe dashboard and copy the test secret API key (or you can use the live secret API key if you don't want to do a test).
- Click the Fetch & Continue, you can review the data it grab then click on Continue. Make sure you have made some test purchases using your Stripe account with an Email, Post Code and Postal Address. You can jump to the Joomla section below to create a page so you can do a test payment page to use for this step.
- Choose an Action App by typing MailChimp.
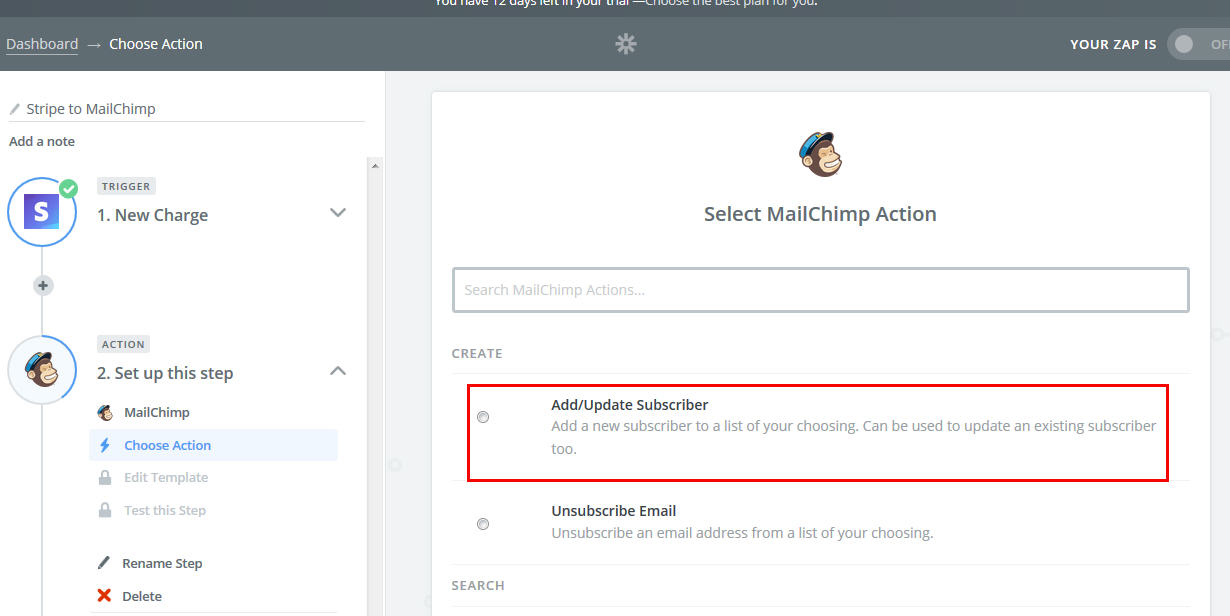
- Then select the Add/Update Subscriber then click Save + Continue.
- Click the Connect an Account button then type your MailChimp username and Password then Log In, then click Save + Continue.
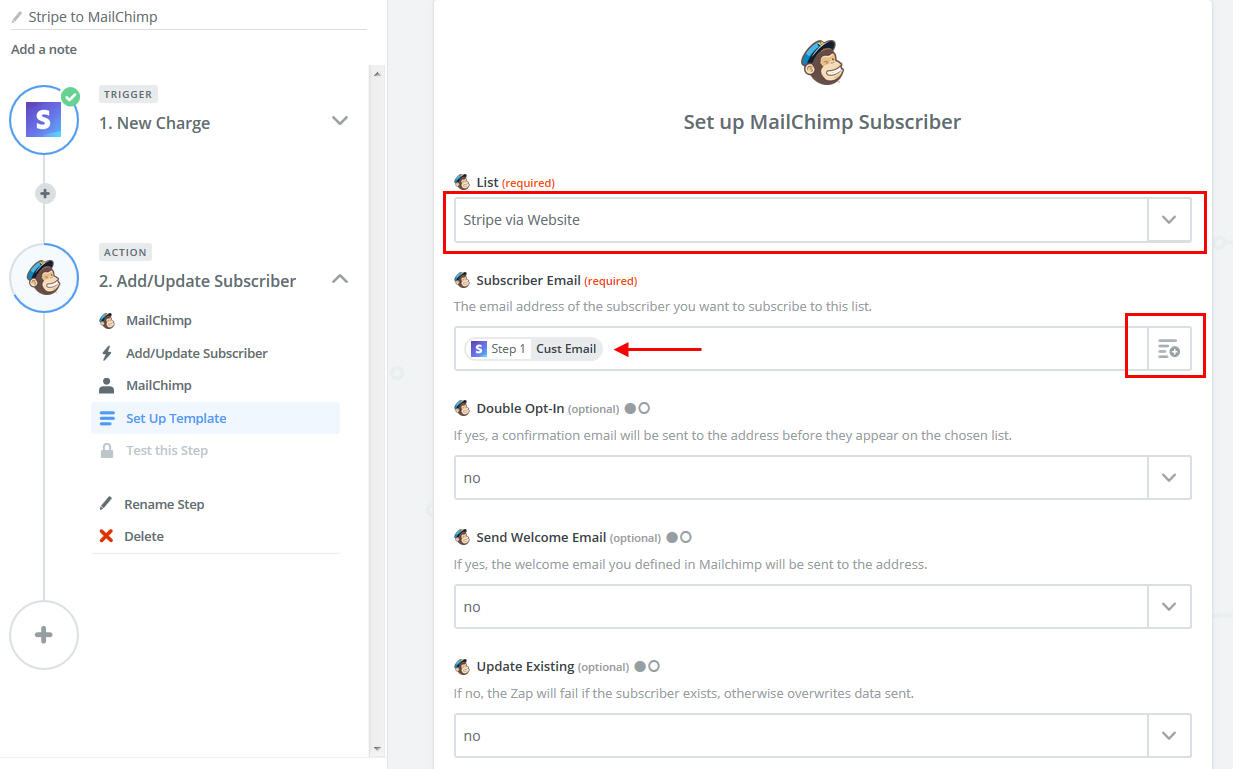
- Select the List from the drop-down which is Stripe via Website which we created from the MailChimp List section from above. For Subscriber Email, click the drop-down then select the Cust Email.
At the bottom, select the correct name addresses and postcode from the drop-down, you can use comma and space. This data will be transferred to MailChimp subscriber's list, then click Continue.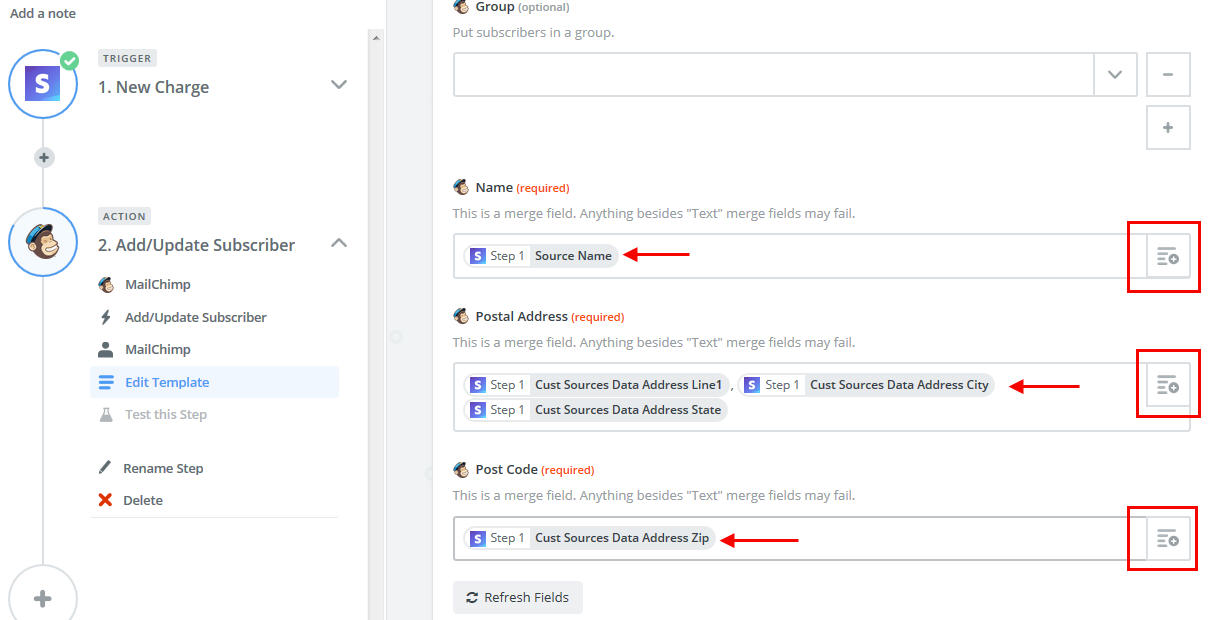
- It will do a test, then select Create + Continue. If everything is OK then activate the newly created app.
DirectPHP
On your Joomla, install the DirectPHP plugin so we can type PHP code on articles.
Stripe Libraries for Joomla
Go to this link https://github.com/stripe/stripe-php/releases and download the zip file of the latest Stripe PHP libraries. Without this, your Stripe on Joomla will not work.
Unzip it then on your website's root folder, create a folder called stripe-php.
From the uncompressed folder, copy the lib folder and init.php inside the newly created folder stripe-php.
I just copied the index.html from one of Joomla's folder and save it inside the stripe-php for security reason.
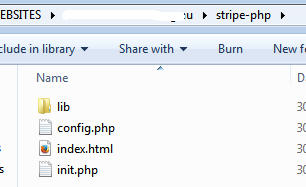
Create a new file called config.php then copy this code inside the file. Make sure to replace the secret_key and publishable_key from your Stripe Dashboard with your TEST API key. Replace it with the LIVE API key once you're ready to go live.
<?php
require_once('stripe-php/init.php');


$stripe = array(
  "secret_key"      => "sk_test_sa5sf45sa4g5sa4g32as4564552",
  "publishable_key" => "pk_test_sag5a465465saf65s46g5a65sdg"
);

\Stripe\Stripe::setApiKey($stripe['secret_key']);
?>
Joomla and Stripe PHP Code on Articles
Now we will add Stripe code to Joomla articles as per this instruction https://stripe.com/docs/checkout/php
It will create a Stripe Token then it will automatically charge the person's card.
- Create a new article entitled "Membership Subscription" then place this code:
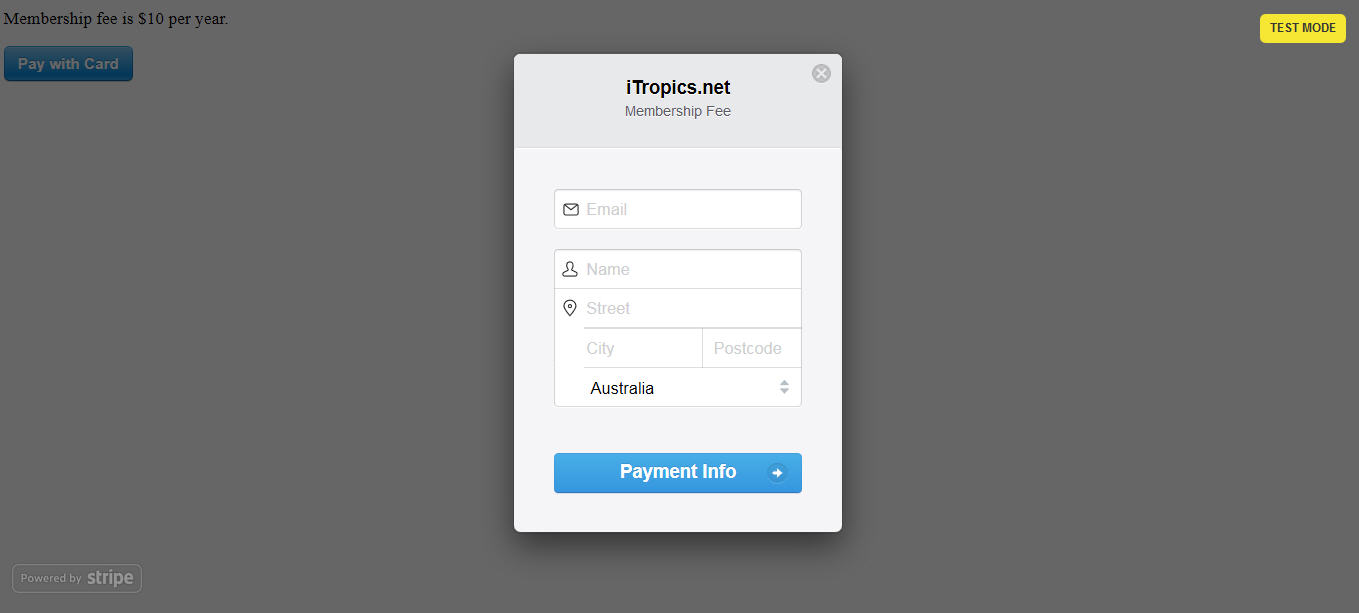
<?php require_once('stripe-php/config.php'); ?> <p>Membership fee is $10 per year.</p> <form action="charge-card" method="post"> <script src="https://checkout.stripe.com/checkout.js" class="stripe-button" data-key="<?php echo $stripe['publishable_key']; ?>" data-amount="1500" data-name="iTropics.net" data-description="Membership Fee" data-image="https://www.itropcis.net/images/logo.jpg" data-locale="auto" data-zip-code="true" data-currency="aud" data-billing-address="true" data-allow-remember-me="false"> </script> </form> - Create another article entitled "Membership Charge Card" then place this code:
<?php require_once('stripe-php/config.php'); $email = $_POST['stripeEmail']; $token = $_POST['stripeToken']; $customer = \Stripe\Customer::create(array( 'email' => $email, 'source' => $token )); $charge = \Stripe\Charge::create(array( 'customer' => $customer->id, 'amount' => 1000, 'currency' => 'aud' )); echo '<h1>Thank you</h1><p>We have successfully charged your card $10.00.</p>'; ?> - Go to Joomla's Menu, then create a menu for Membership then point it to "Membership Subscription" article. Change the alias to membership and make the menu hidden by selecting No to Display in Menu. Create another menu for Membership Charge Card and make the alias charge-card.
- Now go to your website and go to https://www.domain.com/membership then do a sample payment. Don't worry you're Stripe is on test mode as you've placed the test API key on the config.php file.
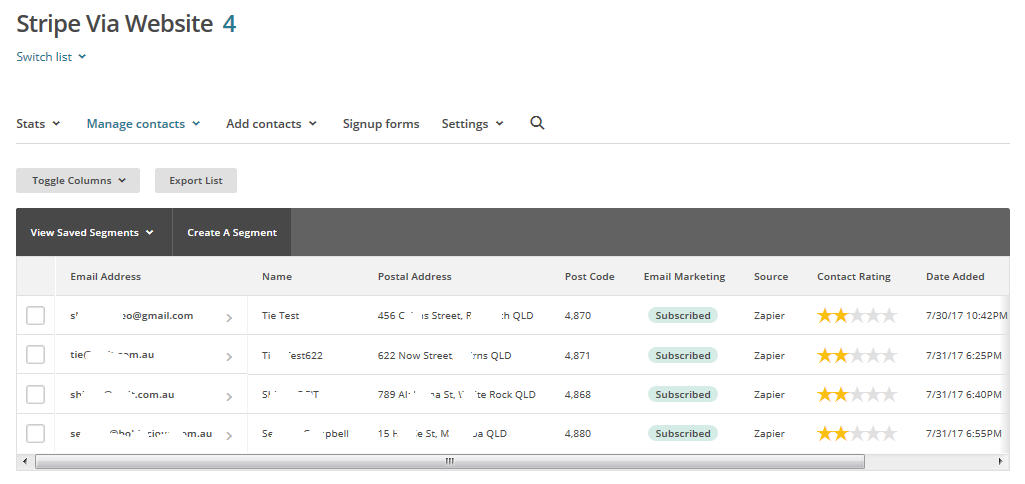
After 5 minutes (paid subscription) to 15 minutes (free subscription), login to your MailChimp account to view that new email address with the name, postal address and post code have been added automatically.
